Manage Agency Profile
This feature allows an organization to create a profile account that pre-populates data every time they start a new application form.
Manage Agency Profile Question Mapping
Your first step in using the Manage Agency Profile feature will be to select the questions that will be used to create the Agency Profiles when an organization starts its application form.
To access the mapping feature, you will need to be a Global Admin on the site.
- Important Note: Before mapping your Agency Profile Questions you must first have a Master Template application available on your site (For more information on how to create a Master Template, see: Module 3: Application Form Setup: 3. Using a Master Template Best Practice)
- Step 1: To access the Manage Agency Profile setup, from your Home dashboard select the Administration tab.
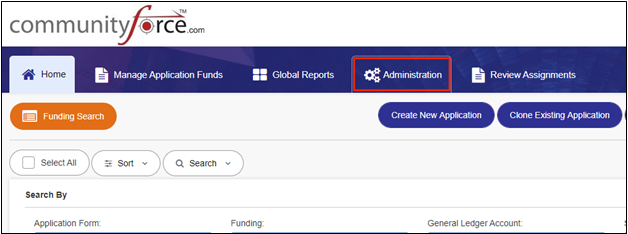
This will direct you to the Administration navigations:
- Step 2: Select the Manage Applicant / Agency Profile to open the Agency Mapping section
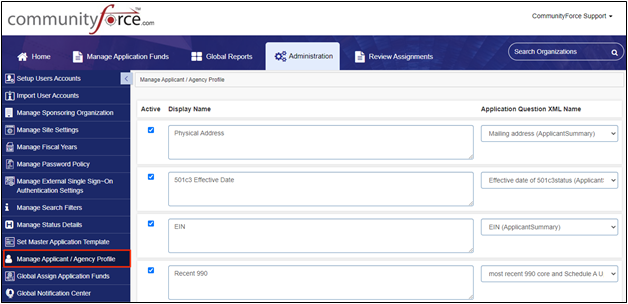
In Agency Mapping you will need to activate all the fields you want to be included as part of the Agency Profile. This section is where you will choose the fields to be included as part of the agency’s profile that will be automatically populated every time someone with a linked profile from that agency starts their application form.
- Step 3: You will notice 3 sections that need to be completed for setup Active, Display Name, and Application Question XML Name.
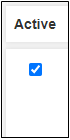
- Step 4: Active: To activate a question as part of the Agency Profile you must select this box.
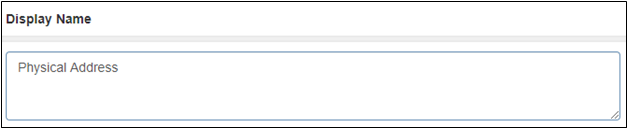
- Step 5: Display Name: This is the name that you want to be displayed as the title caption for that specific question that the applicant will see when creating their Agency Profile.
Type the name you want to appear to the applicant when they view this question:
- Step 6: Application Question XML Name: This is the XML name of the question in your Master Template that is going to be used as the actual question that is to be mapped for that specific question, once the applicant starts their application form. Therefore, it is important to know the XML name for the question you want to map to. This XML name can be located by looking at that specific question in the Master Template.
- Important: In order for a question to be mapped in the Agency Profile it must be originally formatted as a Text Question Type question field.
- To select the Application Question XML name, click on the dropdown arrow in the question field. This will open the listing of all the XML names available to choose from in your Master Template. Once you locate the name you want to link, select it in the dropdown listing. This will then populate that item with the XML name you are mapping the question to.
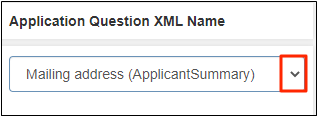
Once you have completed creating your question it should look similar to the item below:

- Step 7: Once you have created your questions and linked them to the appropriate question in the Master Templated. Click Save or Save & Exit from the bottom of the page to save and complete the setup of your Agency Profile questions.

Once the Agency Profile setup is complete Agencies can start using the Agency Profile Feature.
When an applicant logs in they will be able to click on the View/Edit Profile and populate the fields with the items that were linked in the Manage Agency Profile set up. Once the Profile has been completed, those fields will then populate automatically into the application form once they click the “Apply” button and start a new application form.
1.2 Creating Agency Profiles – Applicant View
By creating an Agency Profile an applicant can complete items in their View/Edit Profile setup that they can have pre-populated every time they click “apply” and start an application form. If they are the primary user with an organization, these items will also be added to any additional staff members they create as part of the Manage Members setup.
- Important Note: once the Profile data has been updated any “Active” application forms that have not yet been “Submitted” with a lock after submit and that the Deadline Date has not passed will automatically be updated with this edited data.
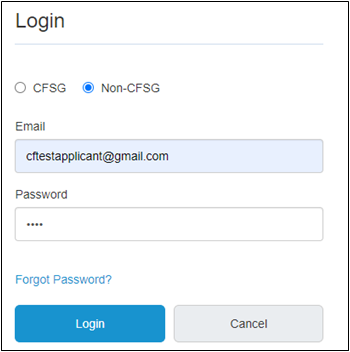
- Step 1: Login in to the site with your login credentials
- Step 2: from your account dashboard select the arrow located next to your name located at the top of the page.
- Step 3: This will open the profile dropdown menu.

- Step 4: Select View/Edit Profile
- Step 5: The View/Edit Profile Information page will open. To edit an item simply click in that items field and change it.
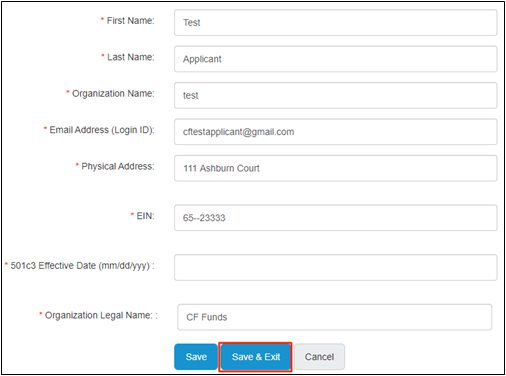
- Step 6: If there are additional fields to complete, complete those fields as requested. This will allow you to create the replies to be used on every application form started by your organization.
Note: Once you click “Apply” and start an application form the items will be pre-populated in that application form.
- Step 7: Be sure to click the Save & Exit button to save your information.
- Step 8: You will receive a message that your profile has been updated. Click Ok to return to your dashboard page.

Step 9: You can now continue with your application forms and the data will be pre-populated from the data you entered in the Edit Profile setup.