Editing System Templates:
When you first get your site, it is best practice to open each email template and read the content of all your email templates. If the message is not what you want to relay you will need to edit them to relay the appropriate message for your applicants. Personalize them to fit the needs of your organization.
Best Practice: Before editing your email templates it is best to review them as a group with the other members of your staff and decide on your branding strategy. Then you can edit your templates accordingly by starting with the Global Templates. Maintaining a procedure for how emails will be handled in your organization for applications that are created in the future is critical.
Exercise 1:
- Step 1: In the Administration tab we have Global Notification Default Templates.
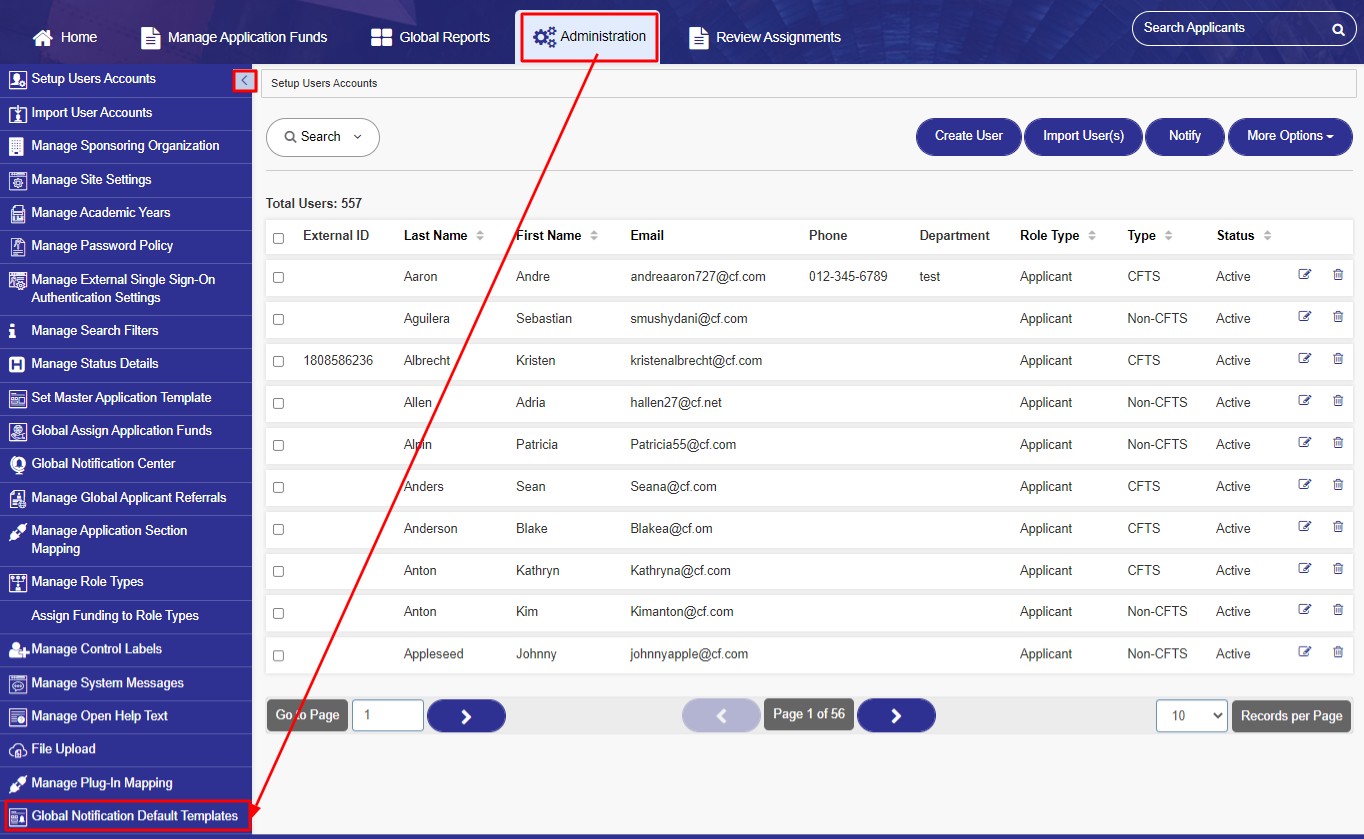
- Step 2: Click on Global Notification Default Templates on the Administration tab.
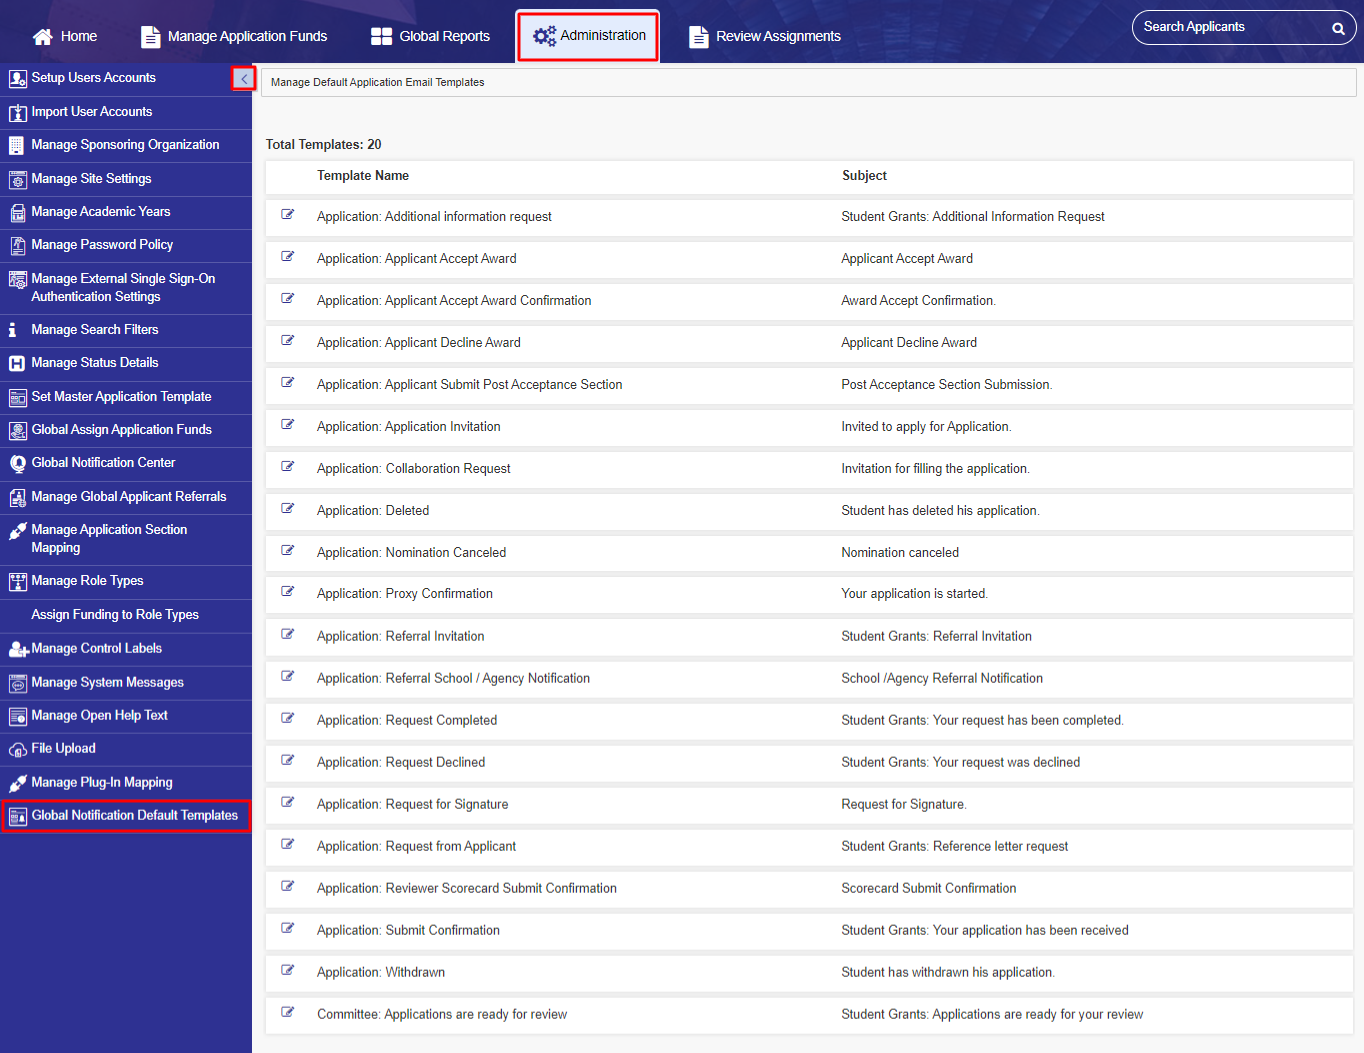
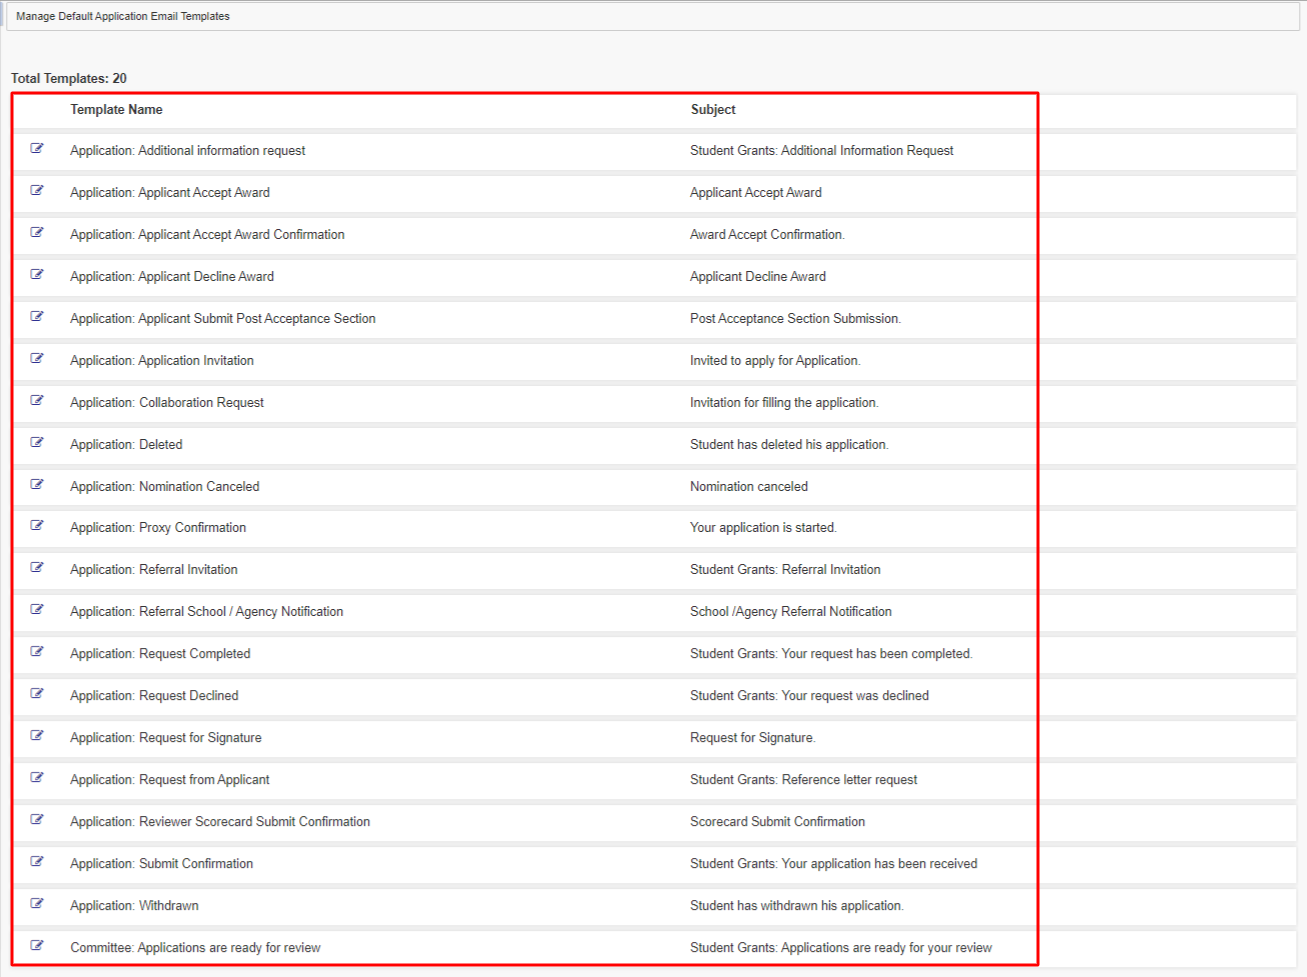
- Step 3: Here we can see the list of “Manage Default Application Email Templates”.
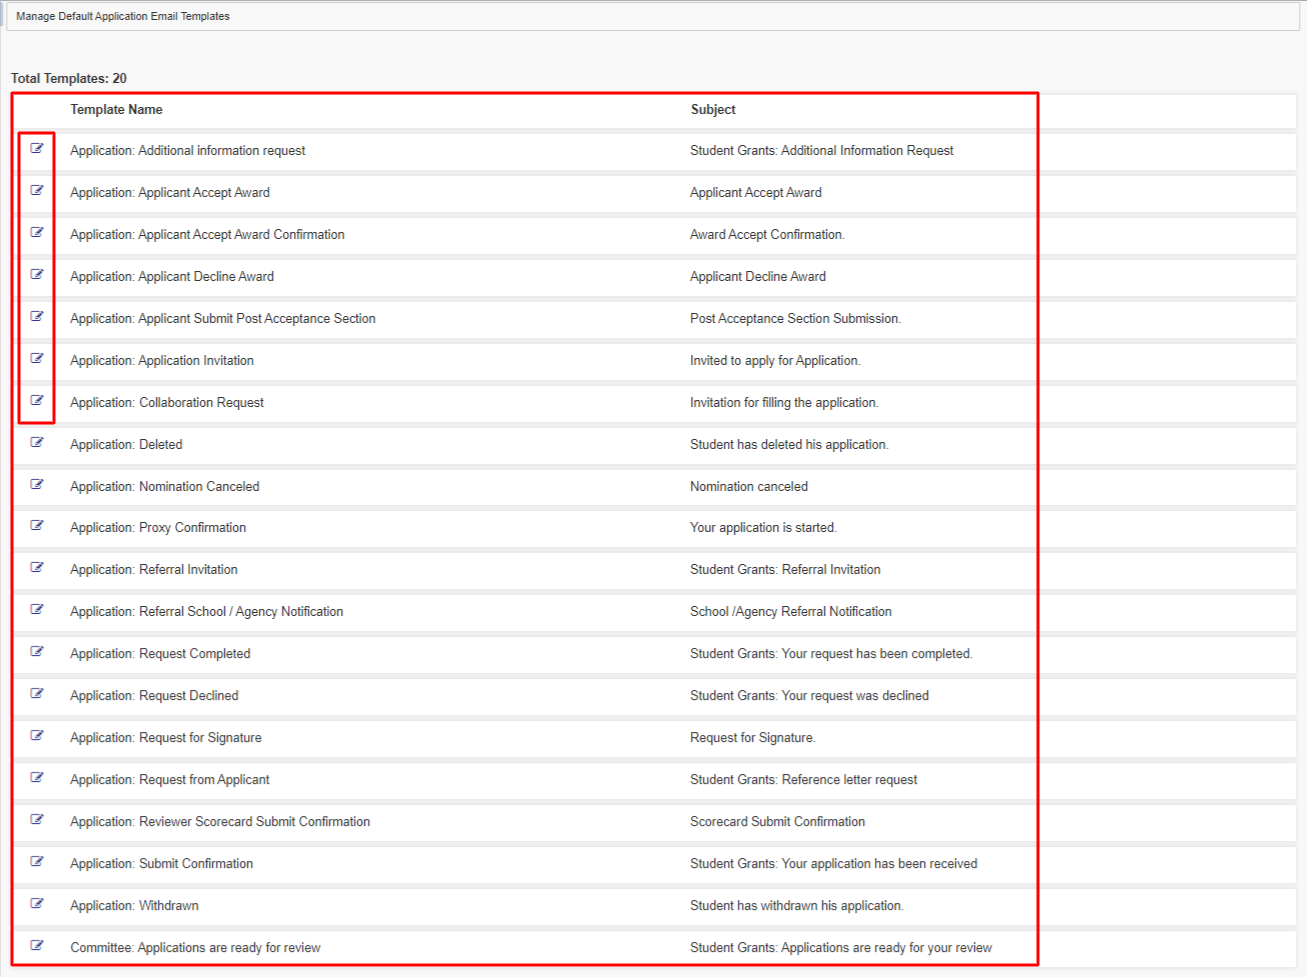
- Step 4: Select the template you want to edit, by clicking on the Edit option under the Template Name Column. (Select the Application: Submit Confirmation for this exercise)
- Step 5: The edit email template will open similar to the example below.
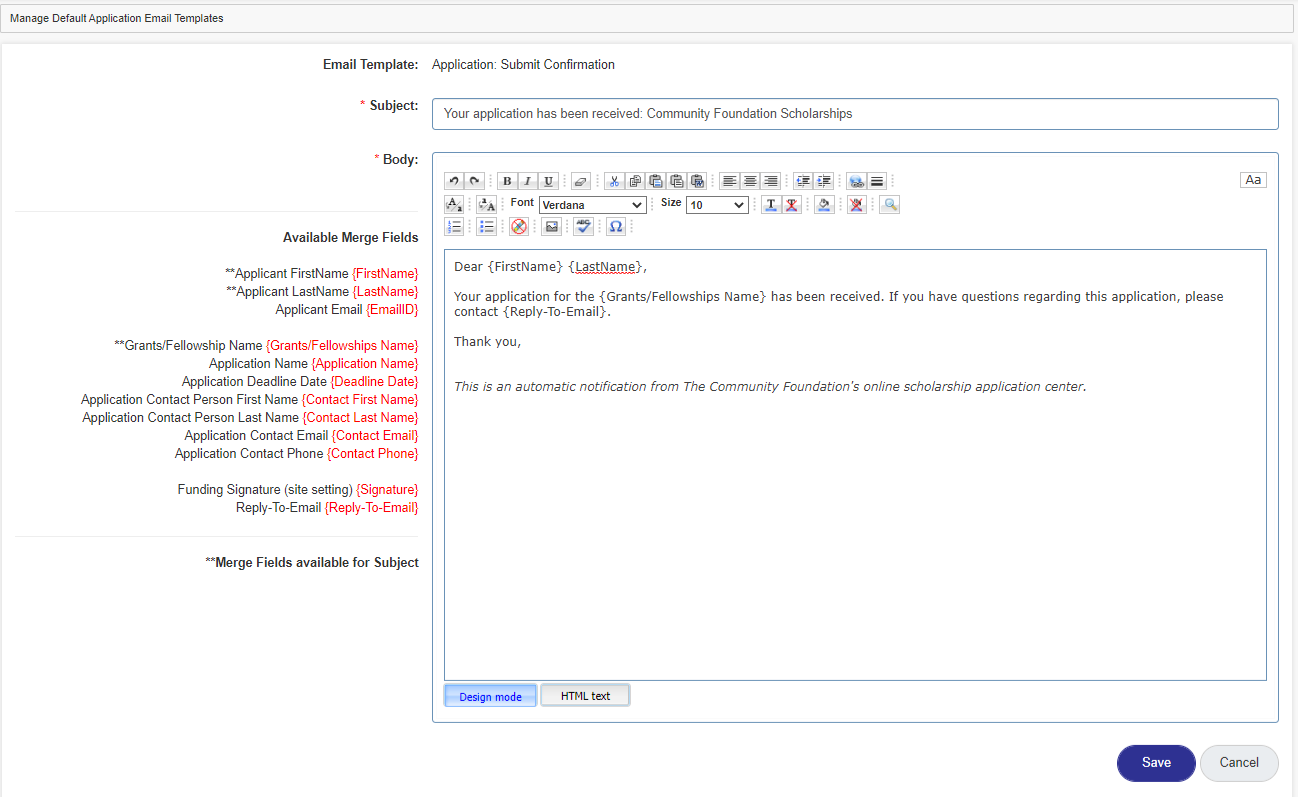
- Step 6: Make any appropriate changes to the email template by typing those changes directly into the editor box.
Below is an explanation of the items in the email template.
- Email Template: The name of the template.
Note: When editing system templates, the Email Template name cannot be edited.
- Email Subject: To add a subject line to your email, enter the Email Subject in this field.
Best Practice: Place the name of your Organization in the Subject Line: (ex. Change subject line to (Organization Name) – Your application has been received).
- Body: The content information for the email template. Content can be entered using either of the following tabs:
- Design Mode: The design mode editor works the same way as Microsoft Word works. Type the information into the body of the editor as you would be typing and formatting it in a Microsoft Word document. You can also copy and paste the formatted text from other documents.
- HTML Text: You can create email templates using HTML tags by clicking on the HTML Text tab present beside the Design Mode tab. Enter the HTML tags with the content and it will display all the content as formatted.
- Available Merge Fields for Custom generated templates: To the left of the editor’s box are Available Merge Fields that you can copy and paste into your email. Simply highlight, right-click, copy and paste into the body of your email. (See the section: Using Merge Fields for a more detailed explanation of what each is mapping to in the site).
- These are auto-populated fields that the administrator can use when setting up an email template. When you send an email, these fields will automatically be populated with the desired data. For example, if the administrator chooses {First Name}, it will automatically change to the applicant’s actual First Name, while sending a mail.
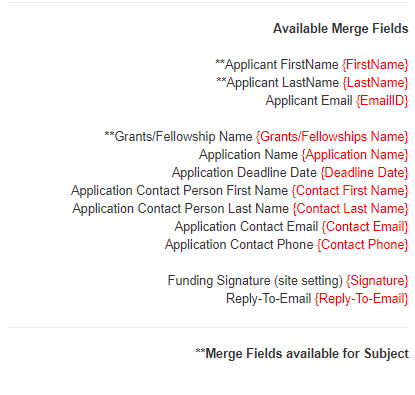
Note: Use caution not to add extra spaces or delete any of the fields when copying it. Each template has certain Merge fields available in the field you are looking for that is not listed in the column to the left then it is not available for this specific template.
- Step 6: After you have completed the edits, click on the Save button to save your changes.
- Step 7: Click the Cancel button to cancel any changes you have made.
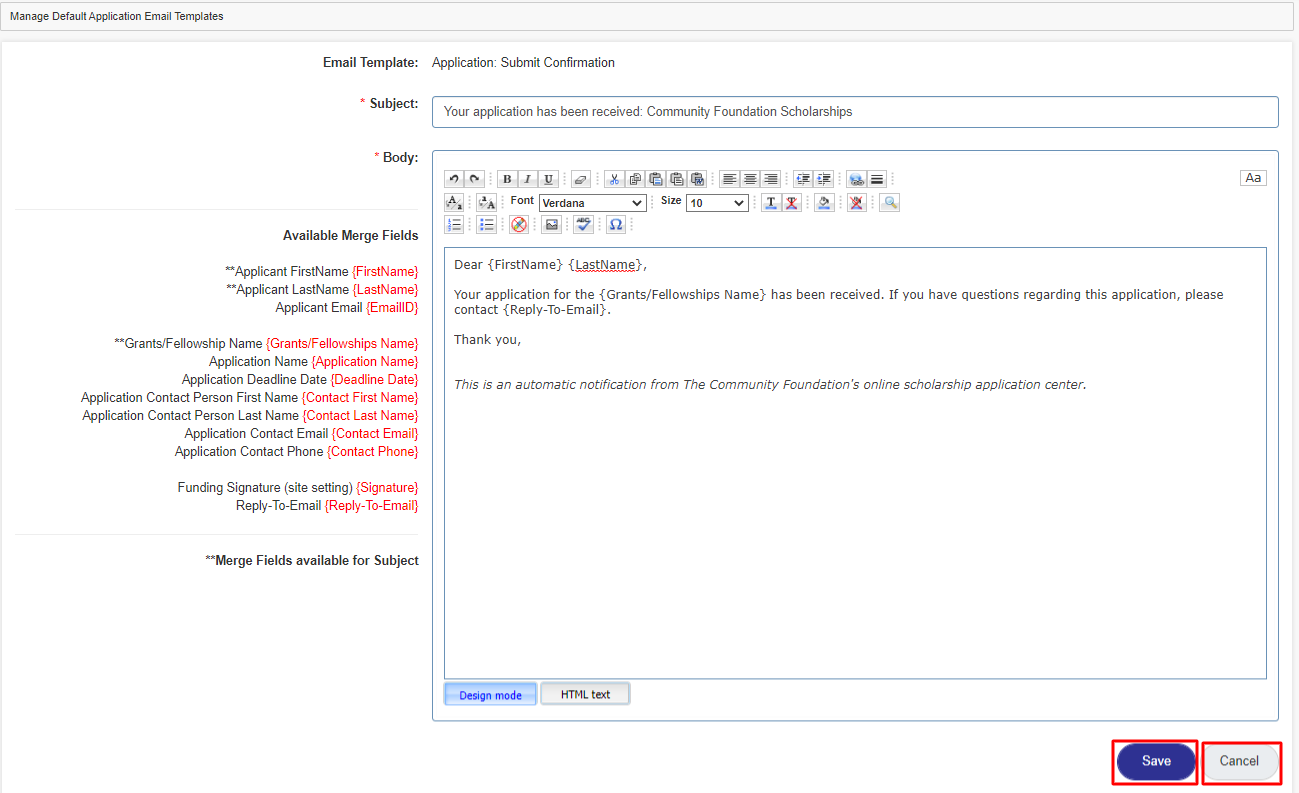
- Step 8: After you have updated your Template, the system will return you to the list of System Templates.