When you first get your site, it is best to read through all your email templates and make sure the message is the appropriate message you want to relay to your applicants for the specific event that triggers the email to go out.
If the message is not the appropriate message for your organization/university, you will need to edit them, personalizing them to fit your organization's needs.
Step 1: Search and click on the application name on the Home screen.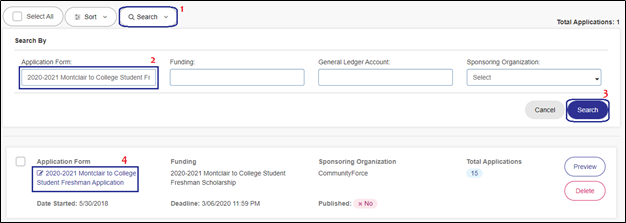
Step 2: From the Manage Applications tab, click on the Notification Center.
Step 3: Once you are in the Notification Center, search for any application you want to edit/update or create a new custom email template.
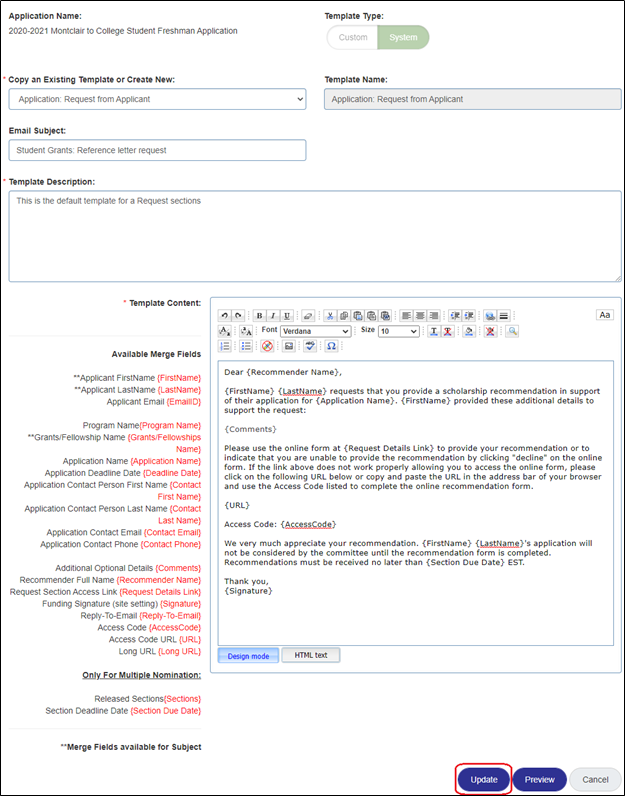
For example, to update the invitation email search for the "Application: Application Invitation" template and to edit the request section email (which is sent out to nominators/recommenders), search for the "Application: Request from Applicant" email template, and so on...
Note: If editing a template in every application, you will need to select each separate application and make the change to the same template in each application separately.
Step 4: After updating the email subject or email body, click on Update at the bottom of the page.