Application Invitation Invite Setup
Before inviting an applicant (or a test applicant) to a private application form, you will need to create applicant profiles for those individuals.
Once all your applicants have a user account you can begin assigning those applicants to your private application process.
Exercise 1
- Step 1: Create your Application Form.
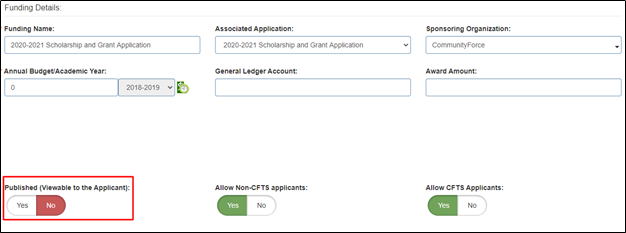
- Step 2: Setup your funding source and link to the application form. However, Do Not publish your funding source.
- Make sure that the Published (Viewable to the Applicant) in the funding source is marked as No.
- Step 3: From the Home Page search for the application and then click on the application (for which you want to invite the applicants)

- This will open the “Manage Applications” screen
- Step 4: Select the “Application Invitation” from the Notifications Tab.
- This will open the Application Invitation setup page
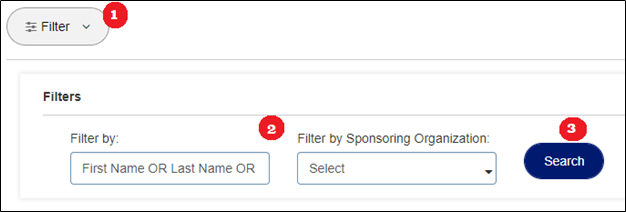
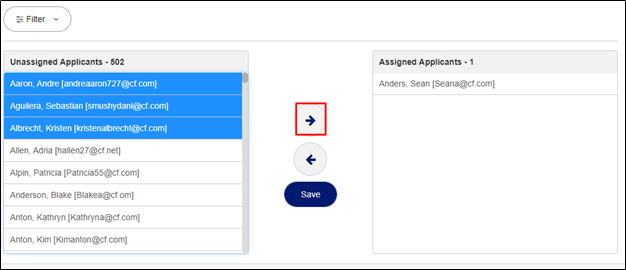
- Step 5: Filter By Will default to the First Name/Last Name/Email. (you can keep this as the filter or only filter on one of the items.)
- Step 6: Filter By Sponsoring Organization: If using the sponsoring organization feature, you can filter on applicants that have been identified as belonging to a specific organization. Then only those applicants belonging to that organization will appear in the listing. Otherwise, leave this as Select.
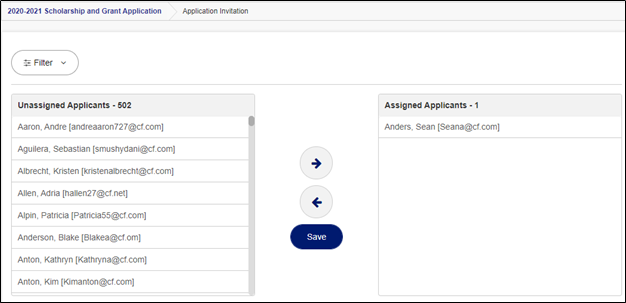
- Next to the header for each section, you will see a number that is the number of applicants, currently listed in each section.
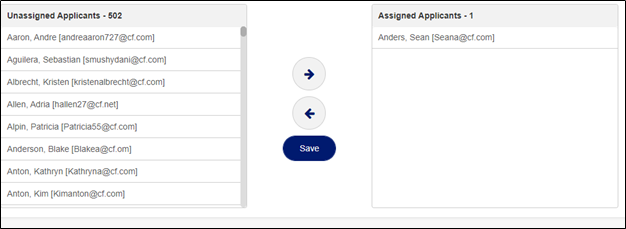
- Step 7: Scroll through the listing of applicants and locate the applicants you want to Assign. Select the applicant by clicking on their name. (You can select multiple applicants by holding down your control key on your keyboard while selecting multiple names)
- Step 8: After you have selected all the applicants you want to assign and they are highlighted in the Un-Assigned Column. Click the Right Directional arrow to move them to the Assigned Applicants(s) column. Clicking the Left Arrow will move the applicant back to the Un-Assigned column.
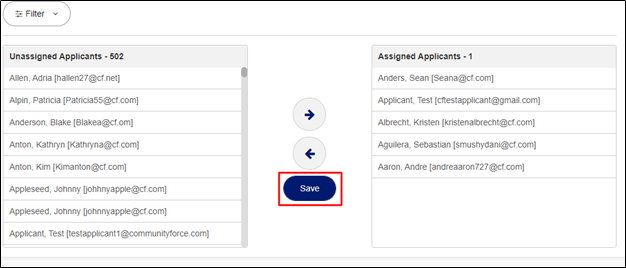
- Step 9: Click Save to save the assignments.
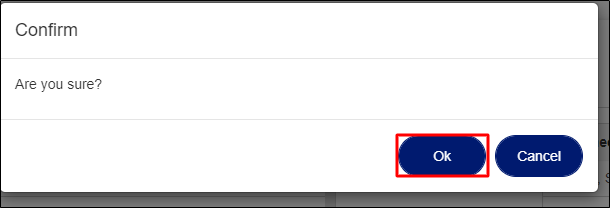
- Step 10: You will receive a confirmation, click Ok.
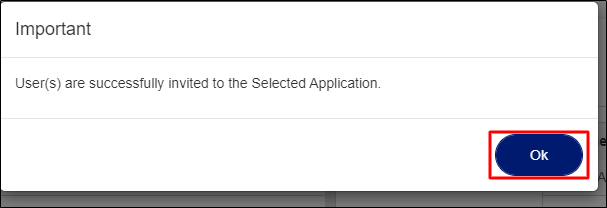
- Step 11: Click Ok on the message that they were successfully assigned.
- All the applicants that you have assigned to this application will now appear at the bottom of the page.
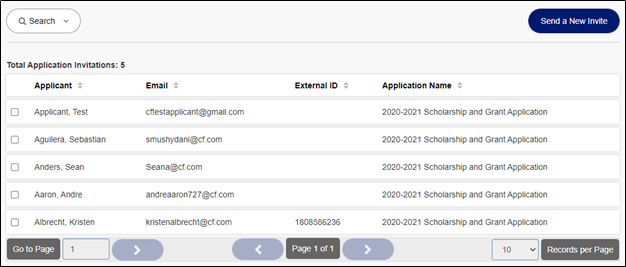
An email notifying them that they have been invited to apply will automatically be sent to them unless you disabled this function in the site settings (Disable Automatic Notification for Application Invitation)
- Step 12: Once you have made your assignments you can exit out of this screen by clicking on the breadcrumb navigation at the top of the page.