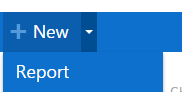
- Click the "New" Report link from the top menu bar
- Select a report data source in the "Data Sources" tab or click on the “Recent Data Sources” dropdown list
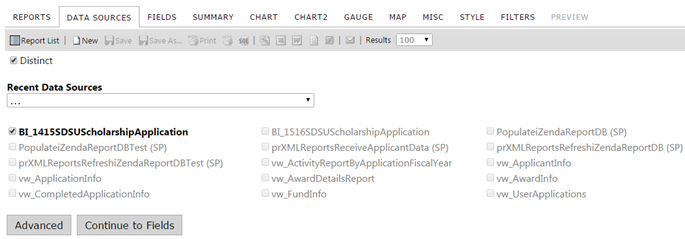
Select Views and Tables and click on Continue with Fields button
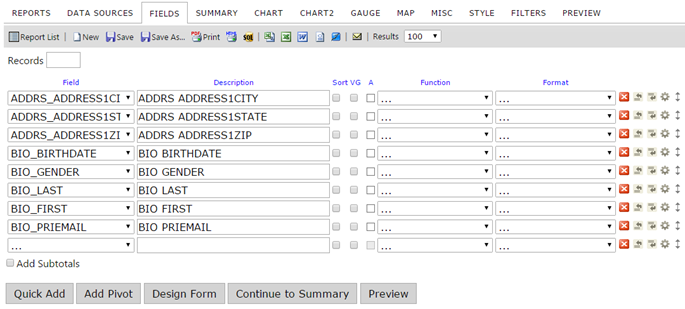
- Select one or more fields, such as LastName, or Firstname, from the "Field" drop-downs
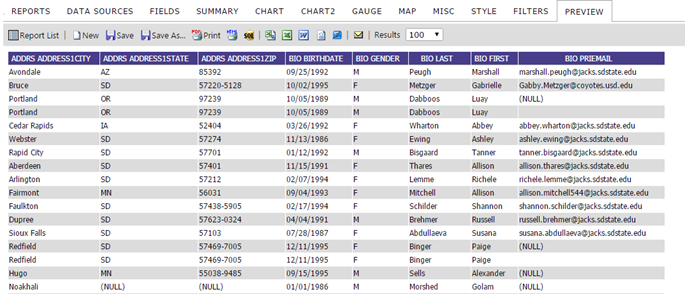
- Click the "Preview" tab to preview the report
- Click the "Save" button to save your report
- Enter a name and category(optional) in the "Save" dialog box
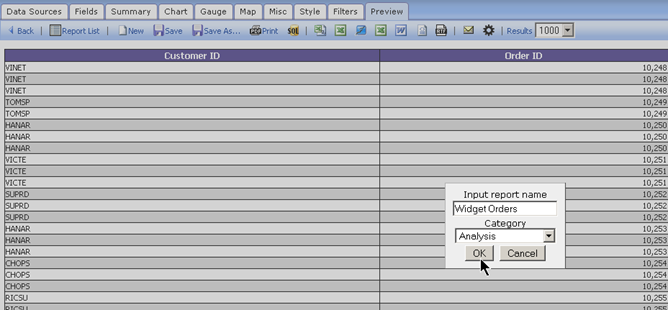
Enter a report name and/or report category in the dialog box
You now have your first functional report. This is a very basic example, and CommunityForce Business Intelligence Reporting Tool offers far more capabilities.
Edit a Report

The Edit button  will allow you to edit the report and add or delete fields from the report.
The Save button  will allow you the save the report.
The Print button  will allow you the print the report
The Results per Page button  will display that many rows in the report on one page.
The Send button  will allow you to email the report to the client.
1.1 Toolbar

Toolbar Buttons
The table below describes the functions of the Toolbar buttons.

1.2 Report Design
Adding additional fields, using field functions, using field formats, & sorting the data.

- If you want to add some more information to an existing report then edit your report which will open the fields
- In the bottom most row under the field label, select new field from the drop down
- Description: If you want to change the heading of the report to something other than the field name, then you can enter it in the description box.
- Function:
- Format: You can format the field by giving the format of that field. For example, If the field is a dollar amount so select the "$0.00" Format from the drop down
- Sort: Selecting this checkbox will sort the report alphabetically by the selected field.
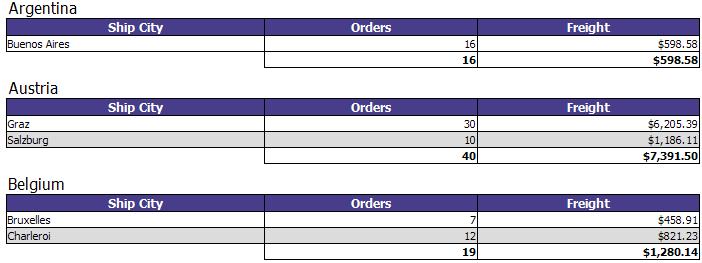
- VG: Visually Group will organize the data into multiple grids based on this field
- A: Arithmetic, with this function you can select multi boxes to perform arithmetic function on the previous value.
- Add Sub Totals: click on this box to view the sub total of fields.