Edit a Global System Template
Administration > Global Notification Center
To edit an existing global system template, click the template name (highlighted in blue) to display the template details.
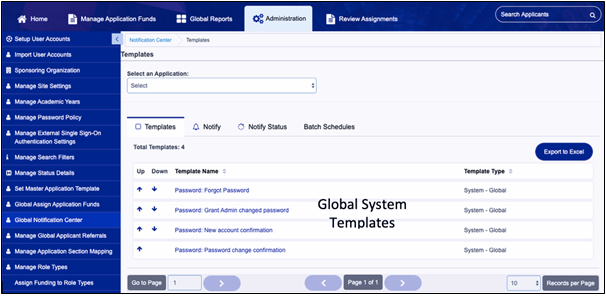
All fields can be edited except for the Template Type and Template Name.
Global System Template Field Descriptions
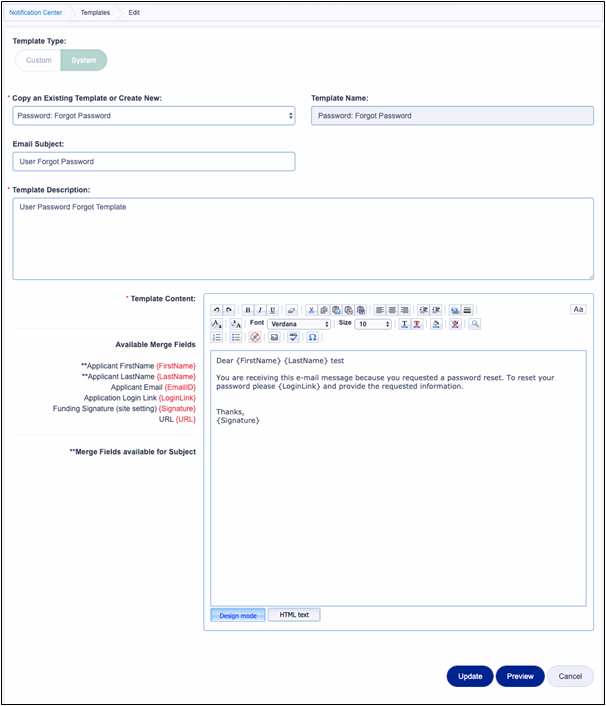
Template Type – Custom or System. This field cannot be edited.
Copy an existing template or create a new one – When editing system templates this field cannot be edited.
- Select from existing email templates – (10.0 guide states that this is an automatic default depending on the type of template and cannot be updated.)
- Add New Template – Add New Template from the dropdown to create a new template.
- Add New Nomination Template – If creating a customized New Nomination Template for your request section(s) you have additional fields that you need to add to those templates to function properly.
Template Name – When editing system templates, the Template Name cannot be edited.
Template Description – Use this field to provide a brief description of the template’s purpose that only internal staff can view.
Email Subject – Provide the subject that will display in the email sent.
Best Practice: Place the name of your organization in the Subject line: (ex. Organization Name – Your application has been received).
Template Content – The content information for the email template. Content can be entered using either of the following tabs:
- Design Mode: This editor allows you to format text similar to how you would do so in Microsoft Word. Using this feature, you can change the font size, color, style, etc., as well as add additional formatting features to your question as needed.
- HTML Text: Click the HTML text button to create the question using HTML.
Available Merge Fields: The Available Merge Fields listed to the left of the editor’s box can be copied and pasted into your email. When you send an email, these fields will automatically be populated with applicable data. For example, if the administrator chooses {FirstName}, the applicant’s first name will be inserted in the merge field when the email is sent.
To add a merge field to the email content:
Highlight the red Merge Field item only, being sure to include the brackets {} on both sides of the item, then right-click, copy and paste the merge field into the body of your email. (See the section: Using Merge Fields for a more detailed explanation of the mapping).
Note: Do not add extra spaces or delete any of the fields when copying. Each template has specific Merge fields available. If the field, you are looking for is not listed in the column to the left then it is not available for this specific template.
Click the Update button to save the changes you have made to the email template.
Click the Preview button to display an example of how the email will appear once it is sent.
Click the Cancel button to abandon any changes made and return to the Notification Center listing page.